Artwork Follows The Dieline, Not The Other Way Around
Design onto the dieline for your exact box size. Artwork built to a guessed size almost always needs rebuilding once the real structure is confirmed, and that costs days. Confirm dimensions first — our packaging size calculator gives a starting internal size to work from before a dieline exists.
Bleed, Safe Area, And Fold Lines
Extend background colour past the trim so a small cutting shift cannot leave a white edge, and keep text and logos clear of trim and fold lines. The most common avoidable proof failure is critical text sitting on or beside a crease.
Colour: Your Screen Is Not The Reference
Screens are backlit and print is not, so a colour that looks right on a monitor can print duller. Supply brand colours as defined values rather than as a screenshot, expect a shift between coated and uncoated stock, and treat the approved physical proof as the reference.
Finishes Change The File, Not Just The Look
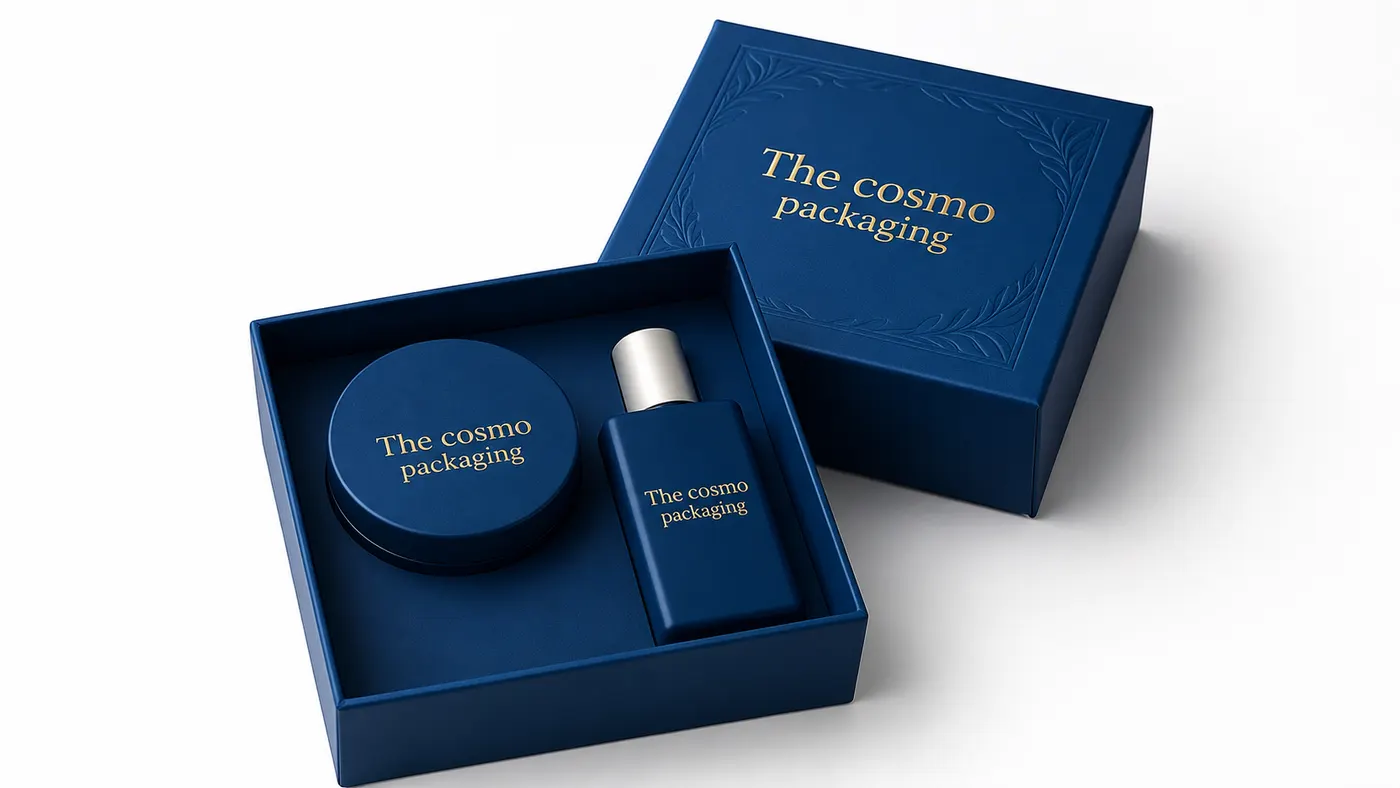
Spot UV, foil and embossing are not effects applied over your image; each usually needs its own layer marking exactly where it goes. Decide finishes before finalising artwork, because adding them afterwards means reworking the file.
Small Print That Gets Squeezed In Last
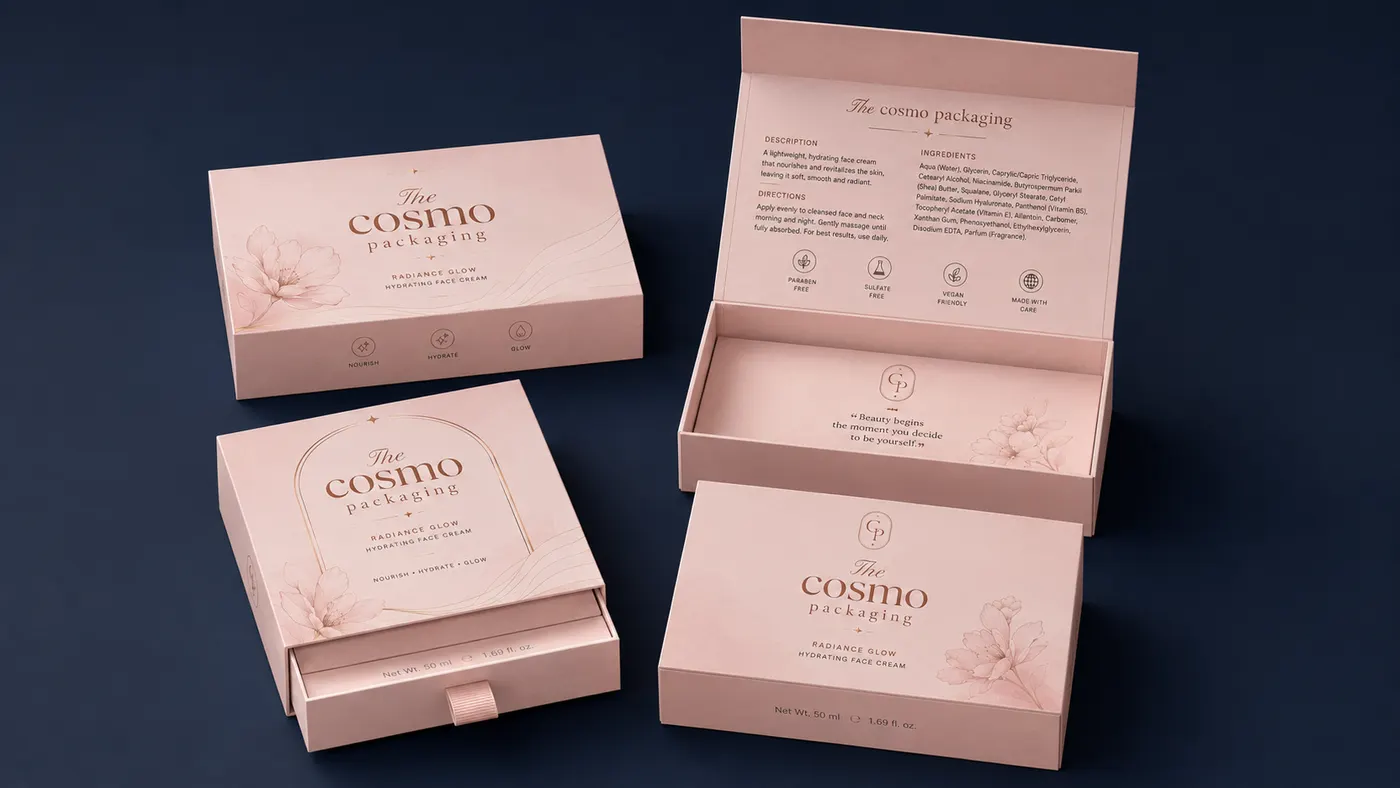
Reserve space early for the ingredient list, net contents, batch code and any barcode. These are usually added at the end and end up too small or too close to a fold. Plan their position at layout stage instead.
What To Send
Print-ready vector artwork, fonts outlined, images at full resolution, placed on the dieline layer, with finishes on separate marked layers. If files are not ready yet, free in-house design support can prepare them with you before production.